-
-
Наш выбор
-
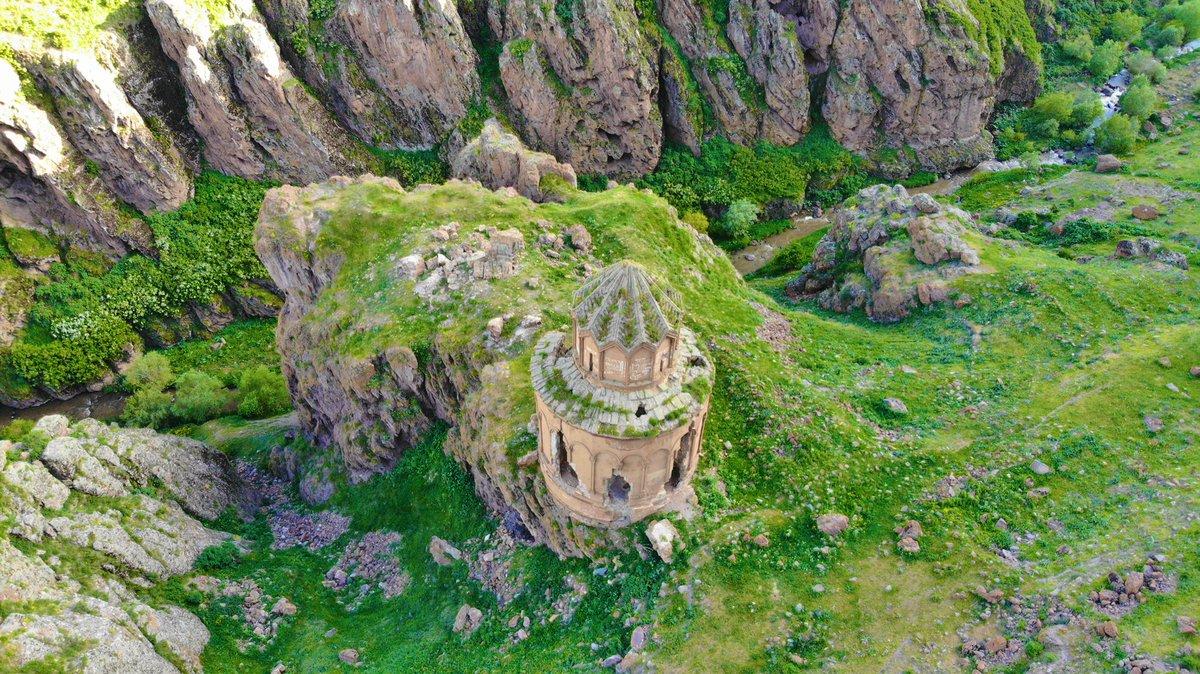
Ани - город 1001 церкви
SUM опубликовал запись в блоге в Офис №1,
Самая красивая, самая роскошная, самая богатая… Такими словами можно характеризовать жемчужину Востока - город АНИ, который долгие годы приковывал к себе внимание, благодаря исключительной красоте и величию. Даже сейчас, когда от города остались только руины, он продолжает вызывать восхищение.
Город Ани расположен на высоком берегу одного из притоков реки Ахурян.
-
- 4 ответа
-
-
В БЕРЛИНЕ БОЛЬШЕ НЕТ АЗЕРБАЙДЖАНА
SUM опубликовал запись в блоге в Офис №1,
Конец азербайджанской истории в Университете им. Гумбольдта: Совет студентов резко раскритиковал кафедру, финансируемую режимом. Кафедра, финансируемая со стороны, будет ликвидирована.-
- 1 ответ
-
-
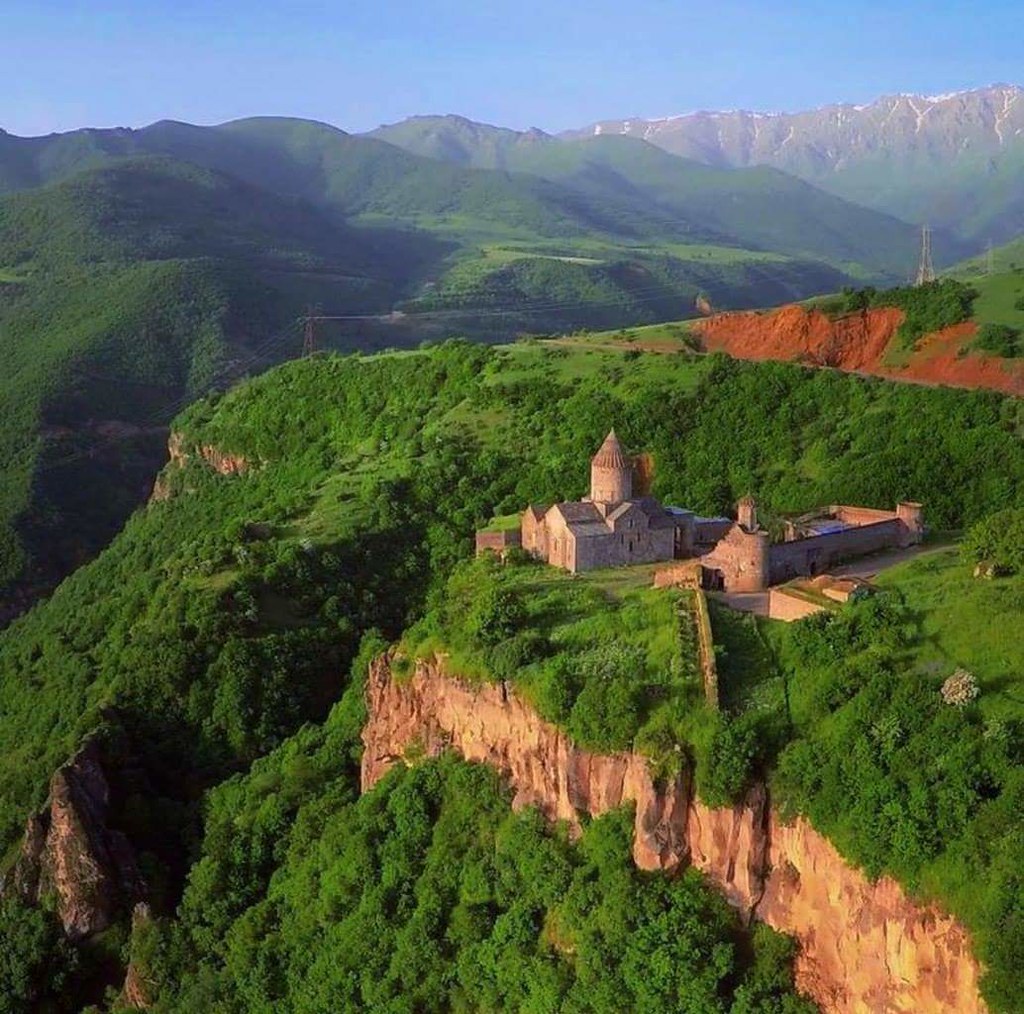
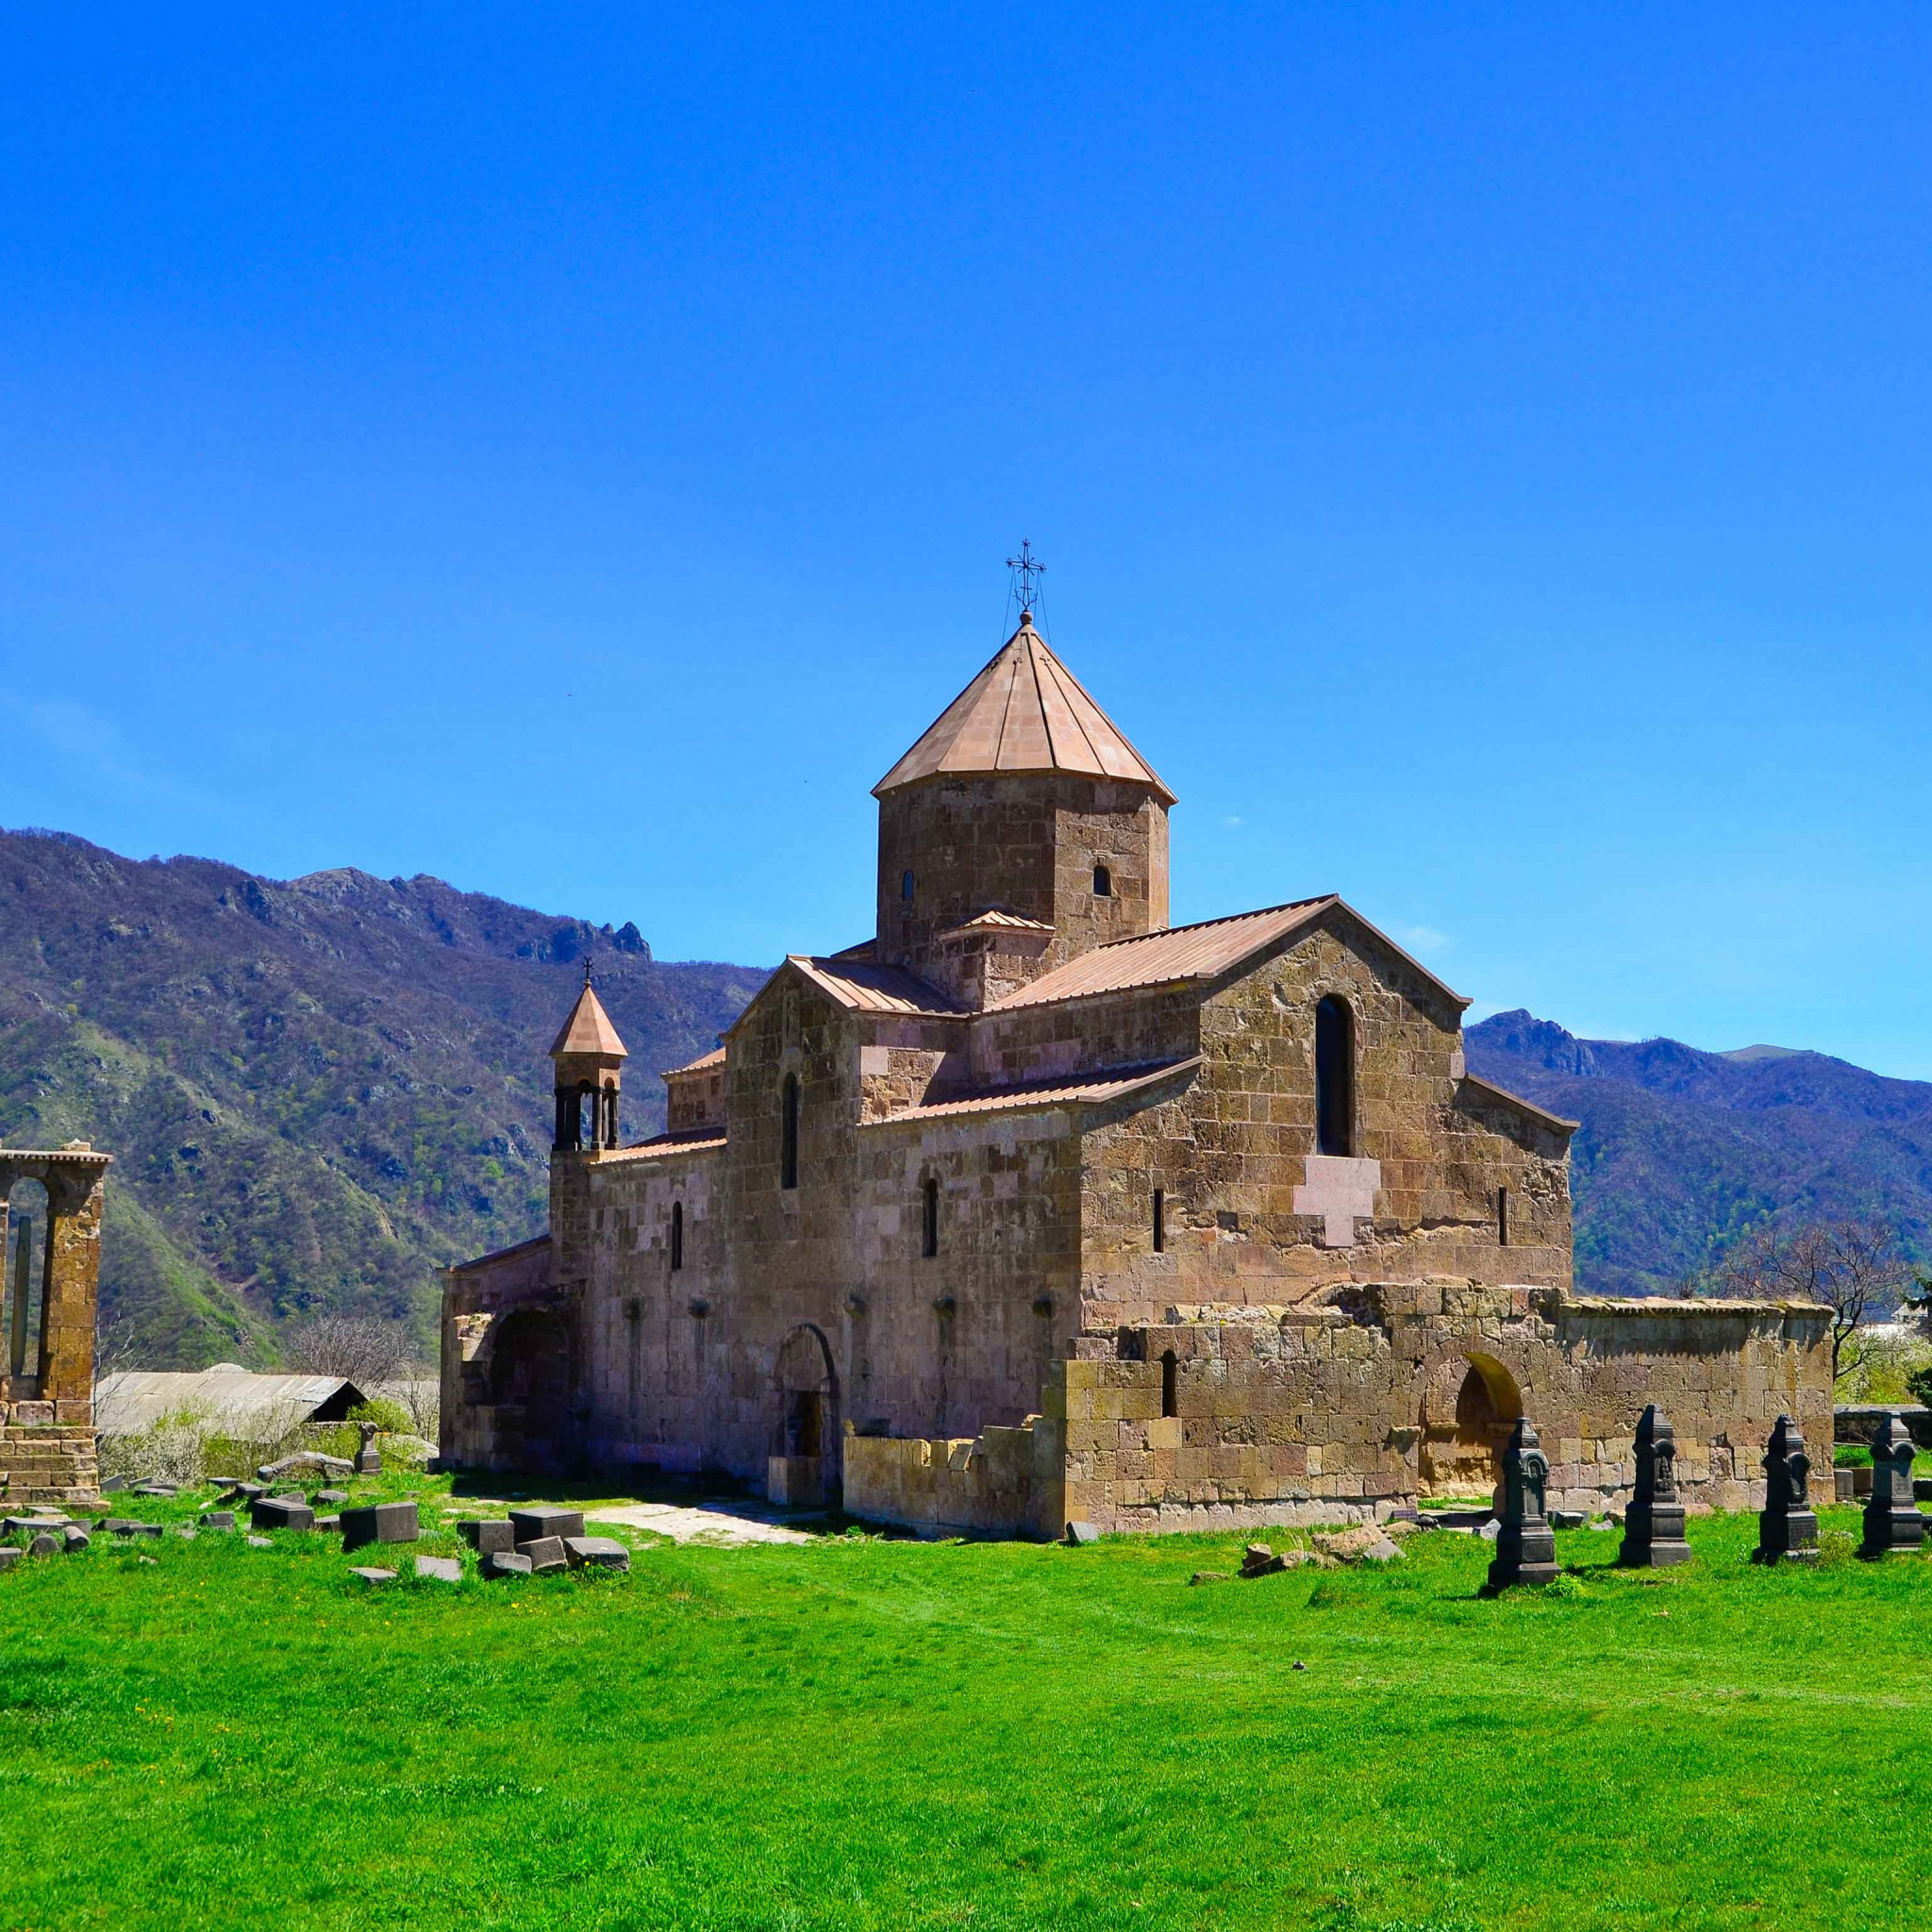
Фильм: "Арцах непокорённый. Дадиванк" Автор фильма, Виктор Коноплёв
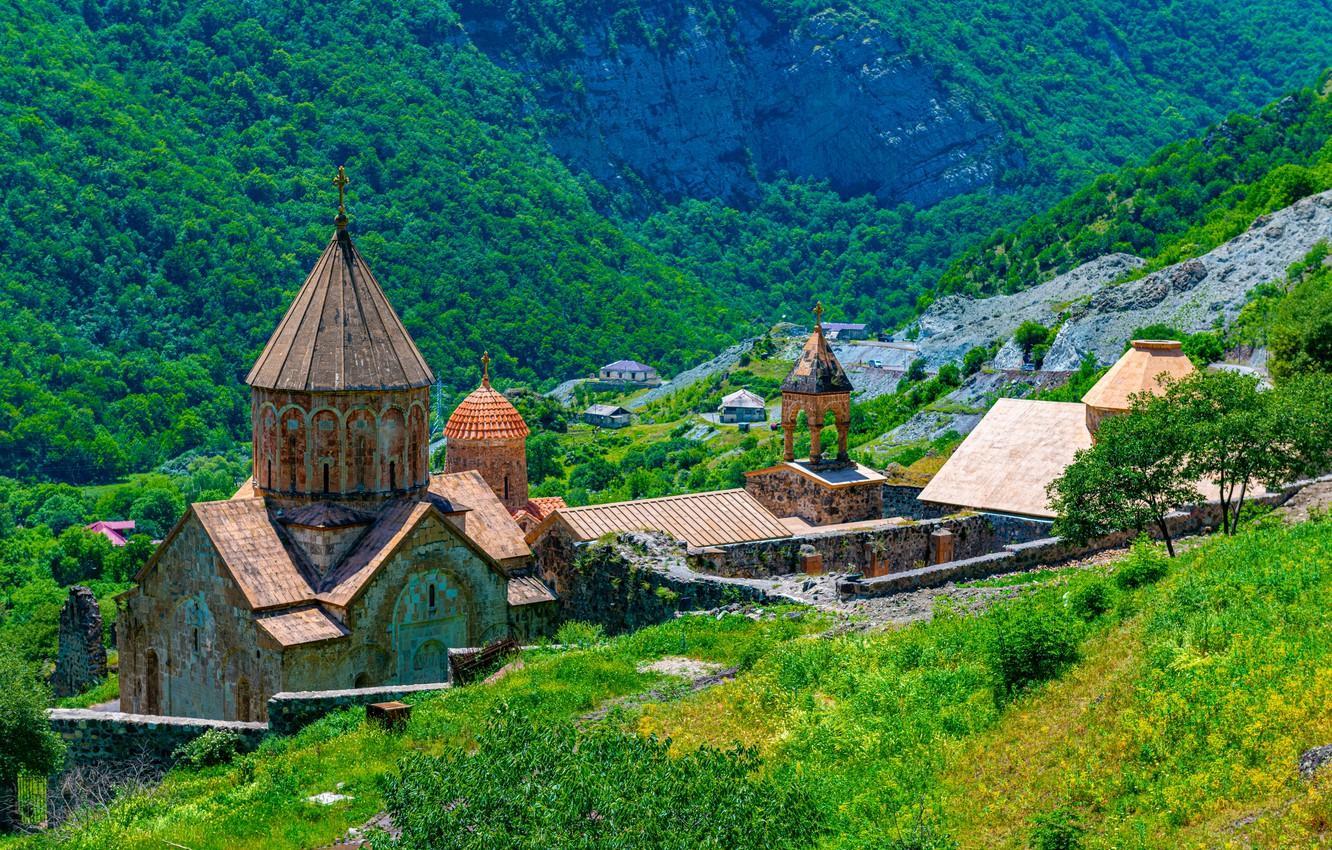
SUM опубликовал запись в блоге в Офис №1,
Фильм: "Арцах непокорённый. Дадиванк"
Автор фильма Виктор Коноплёв.
-
-
- 0 ответов
-
-
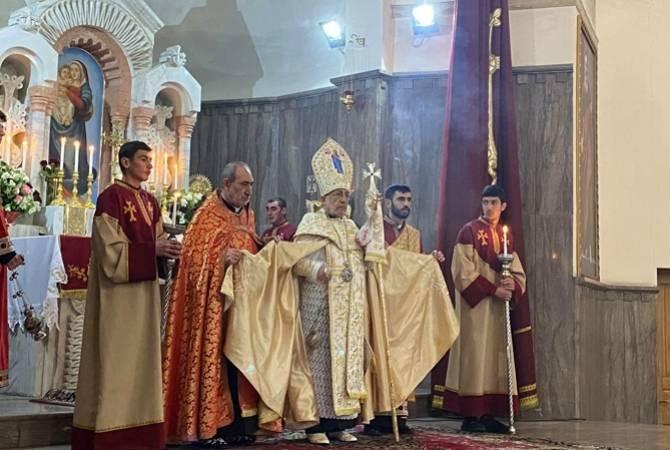
В Риме изберут Патриарха Армянской Католической церкви
SUM опубликовал запись в блоге в Офис №1,
В сентябре в Риме пройдет епископальное собрание, в рамках которого планируется избрание Патриарха Армянской Католической церкви.
Об этом сообщает VaticanNews.
Ранее, 22 июня, попытка избрать патриарха провалилась, поскольку ни один из кандидатов не смог набрать две трети голосов, а это одно из требований, избирательного синодального устава восточных церквей.
Отмечается, что новый патриарх заменит Григора Петроса, который скончался в мае 2021 года. С этой целью в Рим приглашены епископы Армянской Католической церкви, служащие в епархиях различных городов мира.
Епископы соберутся в Лионской духовной семинарии в Риме. Выборы начнутся под руководством кардинала Леонардо Сантри 22 сентября.
-
- 0 ответов
-
-
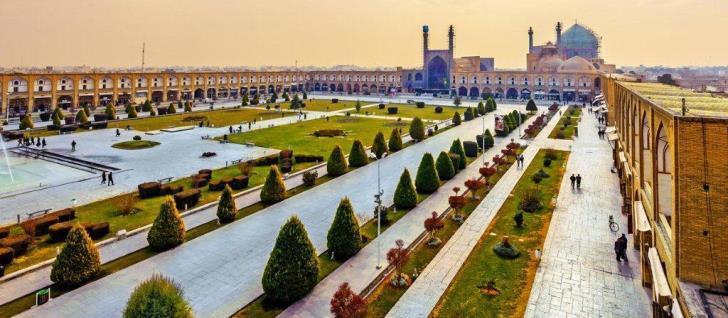
History of Modern Iran
SUM опубликовал запись в блоге в Офис №1,
Решил познакомить вас, с интересными материалами специалиста по истории Ирана.
Уверен, найдете очень много интересного.
Edward Abrahamian, "History of Modern Iran".
"В XIX веке европейцы часто описывали Каджарских шахов как типичных "восточных деспотов". Однако на самом деле их деспотизм существовал лишь в виртуальной реальности.
Власть шаха была крайне ограниченной из-за отсутствия государственной бюрократии и регулярной армии. Его реальная власть не простиралась далее столицы. Более того, его авторитет практически ничего не значил на местном уровне, пока не получал поддержку региональных вельмож-
- 4 ответа
-
-
-
Сейчас в сети 6 пользователей, 0 анонимных, 392 гостя (Полный список)
-
День рождения сегодня
Нет пользователей для отображения
-

.jpeg.3444459fef185c8fbbf8fce030e23424.jpeg)
.jpeg.e45bb142cf7e7b4293b2f5e1fb2e9ba5.jpeg)

.jpeg.e1a8abd695e19cffb03fb681cb1fdd3f.jpeg)

.jpeg.1469c29200f6e728afc87a595546664a.jpeg)
-
Сейчас в сети
391 гость

 6 пользователей
Сейчас на странице
Нет пользователей, просматривающих эту страницу.
Сейчас на странице
- Нет пользователей, просматривающих эту страницу.

Рекомендованные сообщения
Архивировано
Эта тема находится в архиве и закрыта для дальнейших сообщений.