-
Обсуждение также на телеграм канале
-
-
-
Наш выбор
-
Вопрос с акцентом
Artmonton опубликовал теме в Человеческий фактор,
Наверно многие заметили, что в популярных темах, одна из них "Межнациональные браки", дискуссии вокруг армянских традиций в значительной мере далеки от обсуждаемого предмета. Поэтому решил посвятить эту тему к вопросам связанные с армянами и Арменией с помощью вопросов и ответов. Правила - кто отвечает на вопрос или отгадает загадку первым, предлагает свой вопрос или загадку. Они могут быть простыми, сложными, занимательными, важно что были связаны с Арменией и армянами.
С вашего позволения предлагаю первую загадку. Будьте внимательны, вопрос легкий, из армянских традиций, забитая в последние десятилетия, хотя кое где на юге востоке Армении сохранилась до сих пор.
Когда режутся первые зубы у ребенка, - у армян это называется атамнаhатик, атам в переводе на русский зуб, а hатик - зерно, - то во время атамнаhатика родные устраивают праздник с угощениями, варят коркот из зерен пшеницы, перемешивают с кишмишом, фасолью, горохом, орехом, мелко колотым сахаром и посыпают этой смесью голову ребенка. Потом кладут перед ребенком предметы и загадывают. Вопрос: какие предметы кладут перед ребенком и что загадывают?-
-
- 295 ответов
-
-
-
Сейчас в сети 1 пользователь, 0 анонимных, 1 гость (Полный список)
-
День рождения сегодня
-

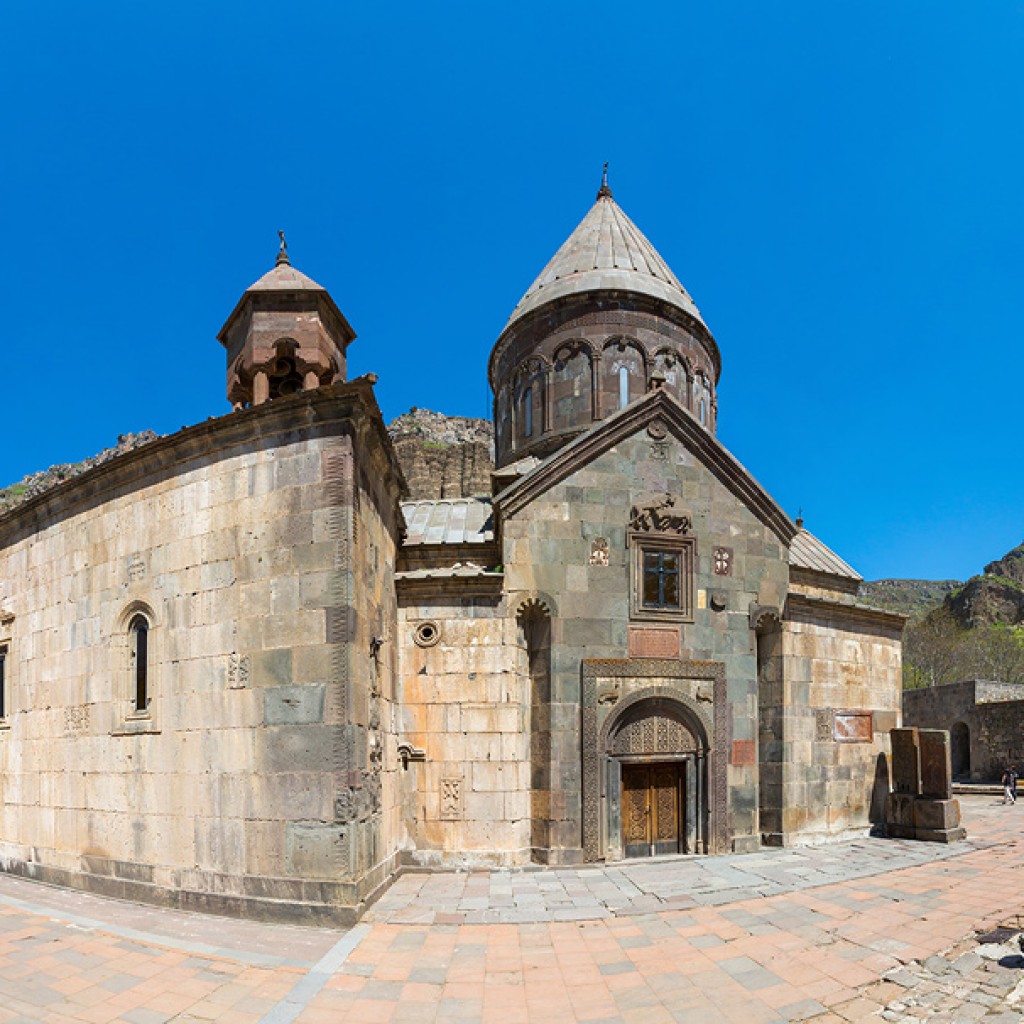
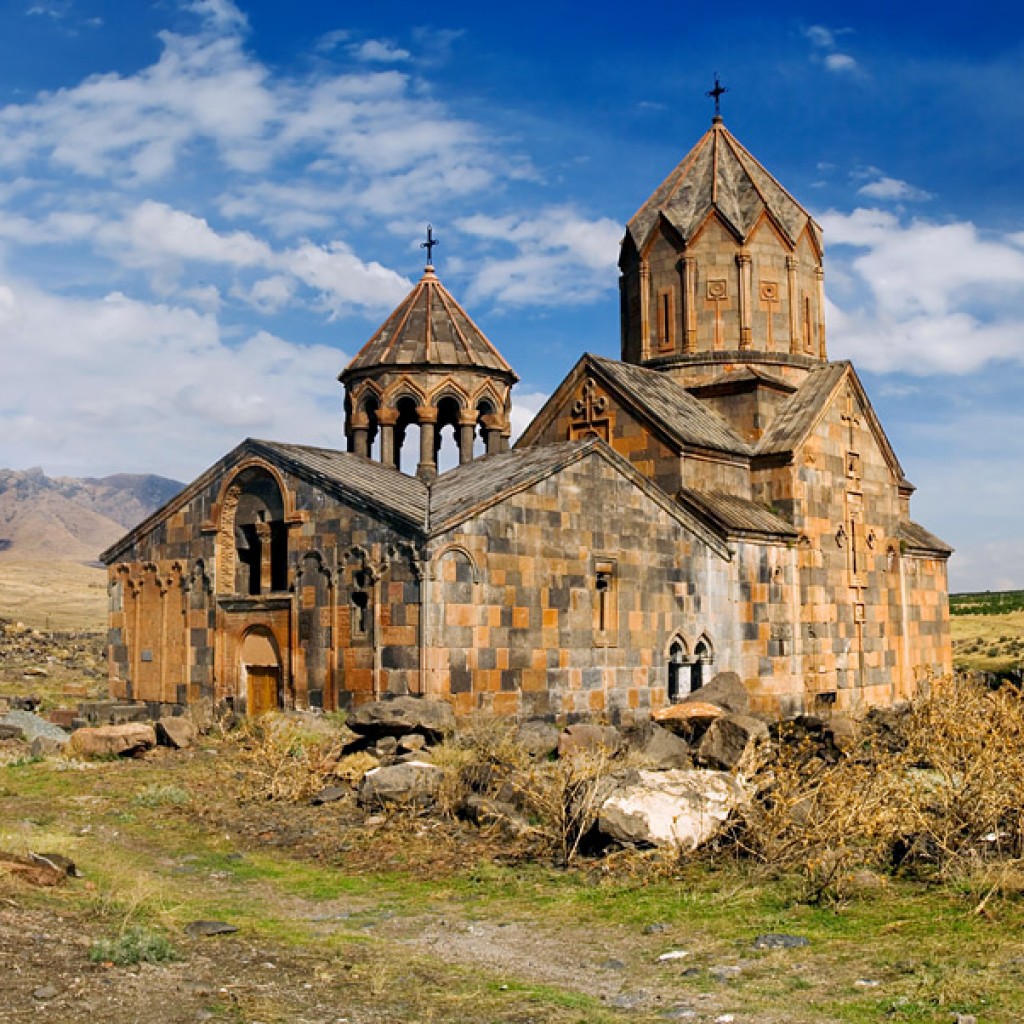
.jpeg.3444459fef185c8fbbf8fce030e23424.jpeg)
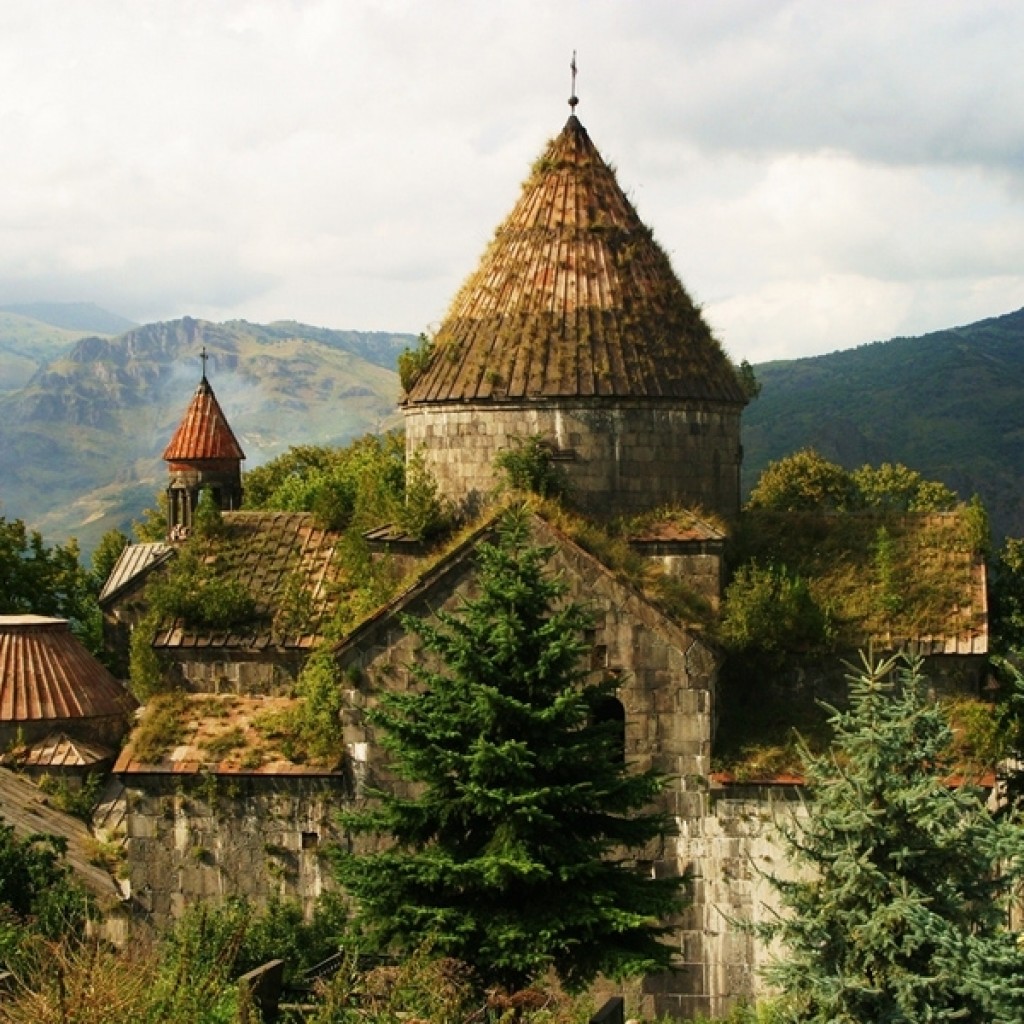
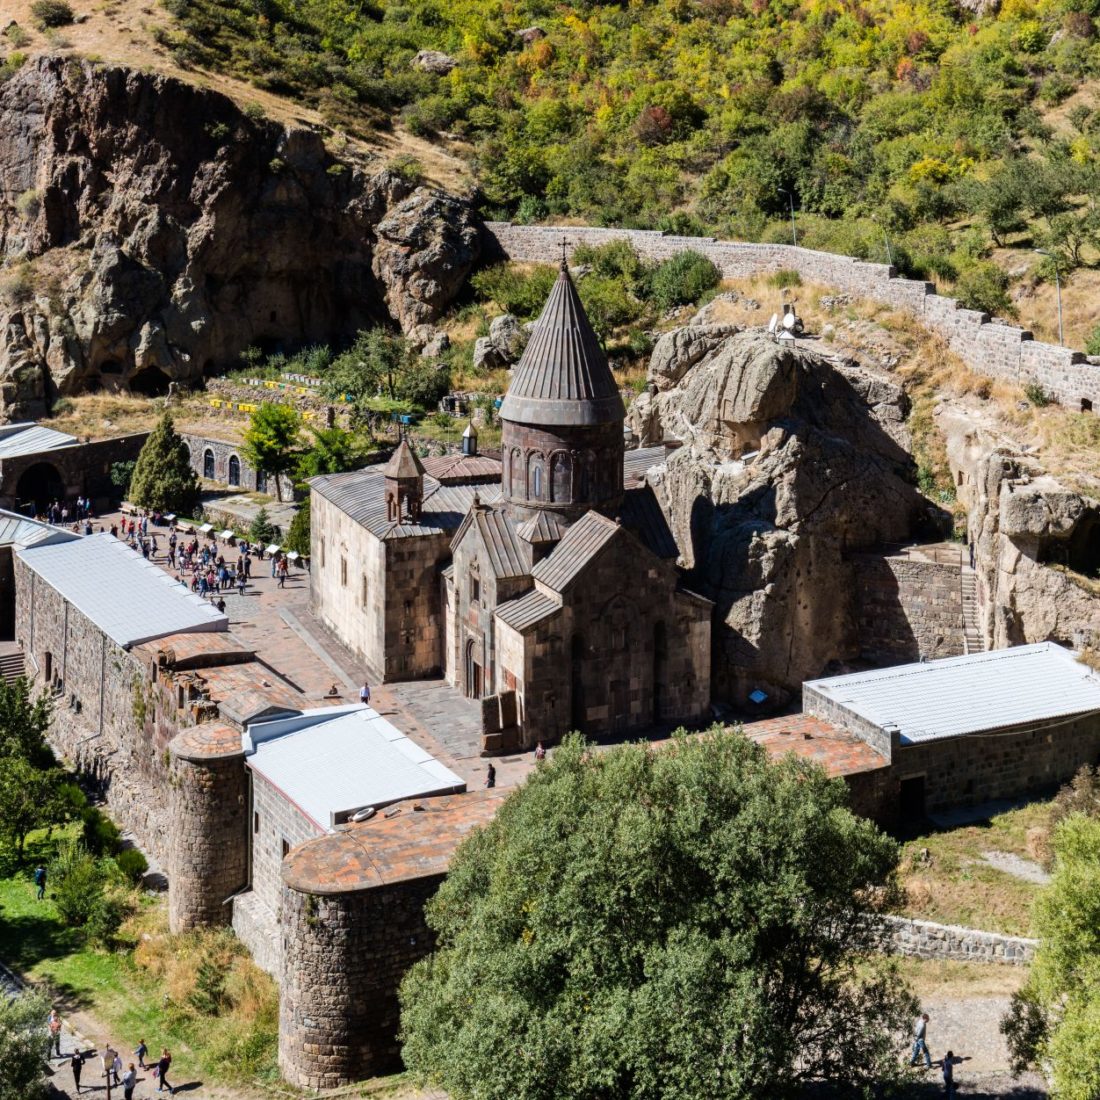
.jpeg.e45bb142cf7e7b4293b2f5e1fb2e9ba5.jpeg)
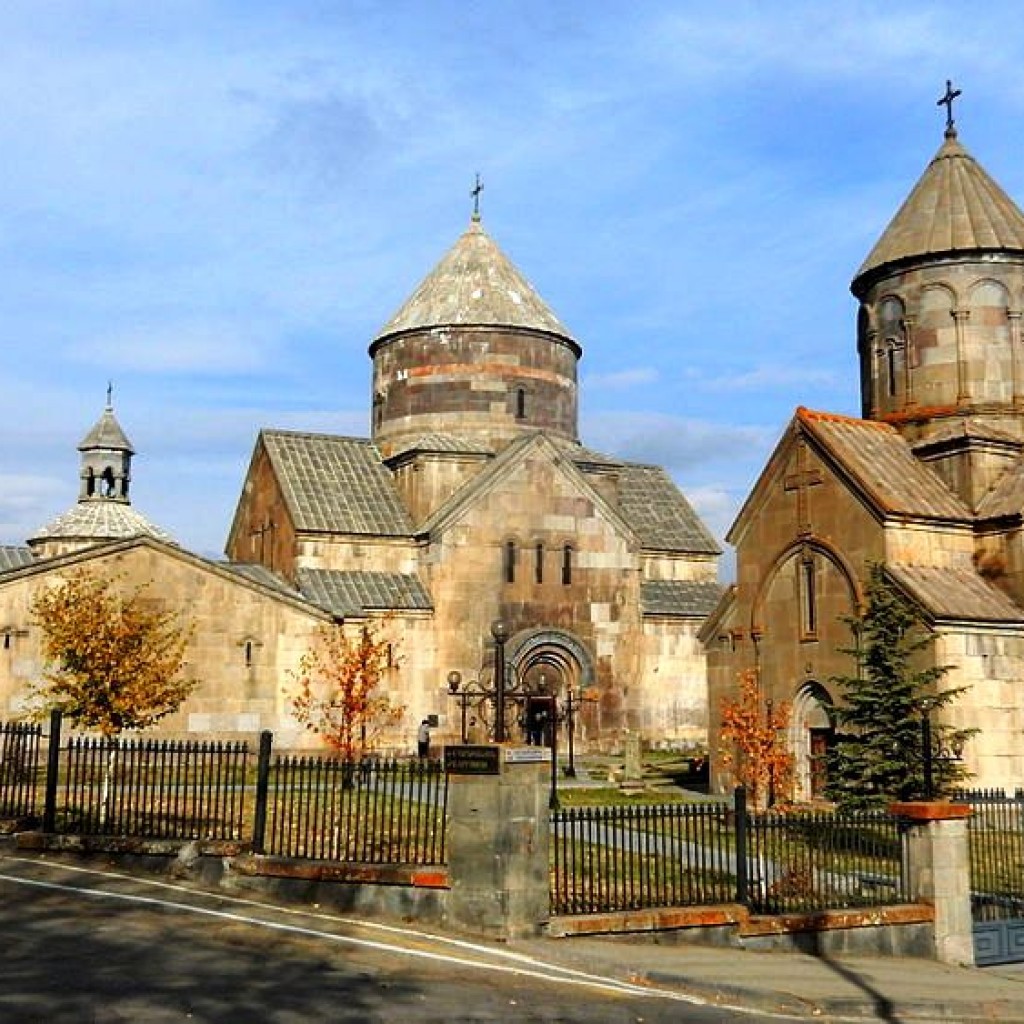

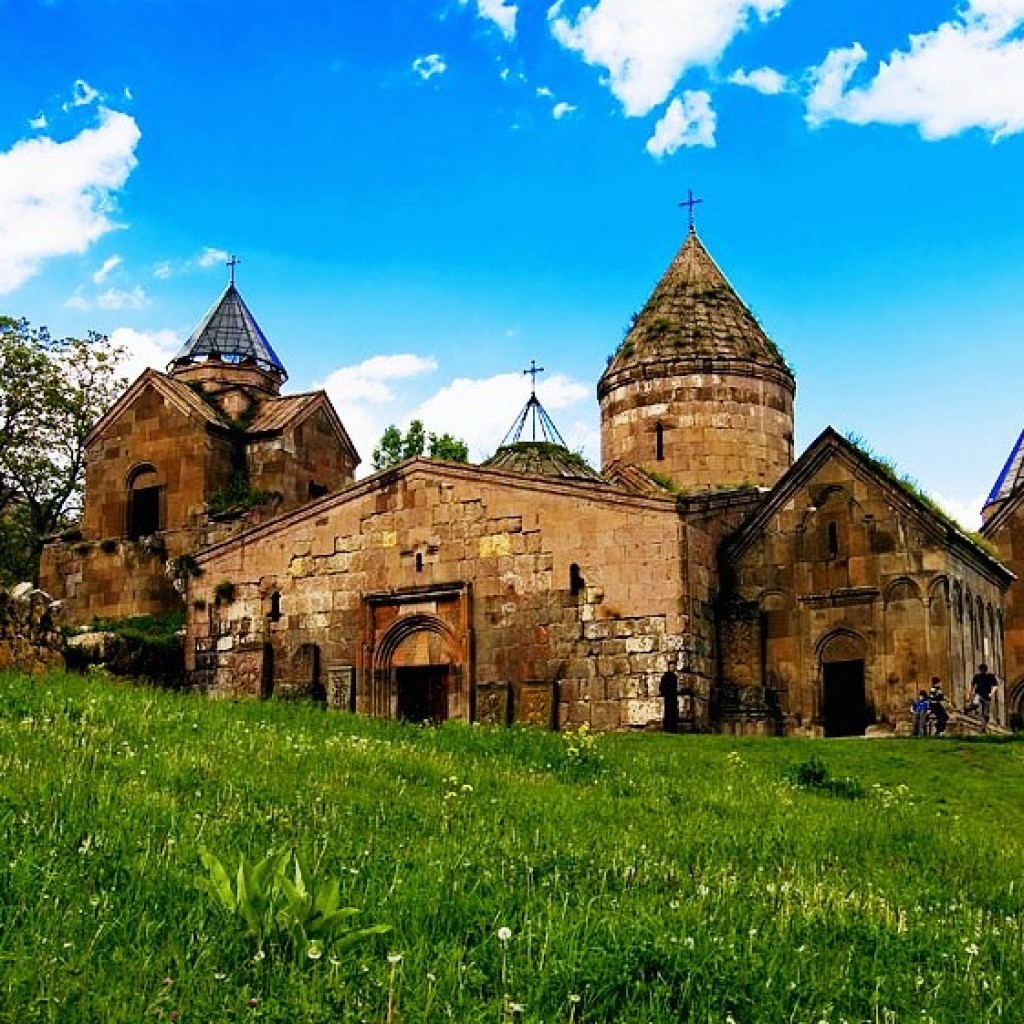
.jpeg.e1a8abd695e19cffb03fb681cb1fdd3f.jpeg)

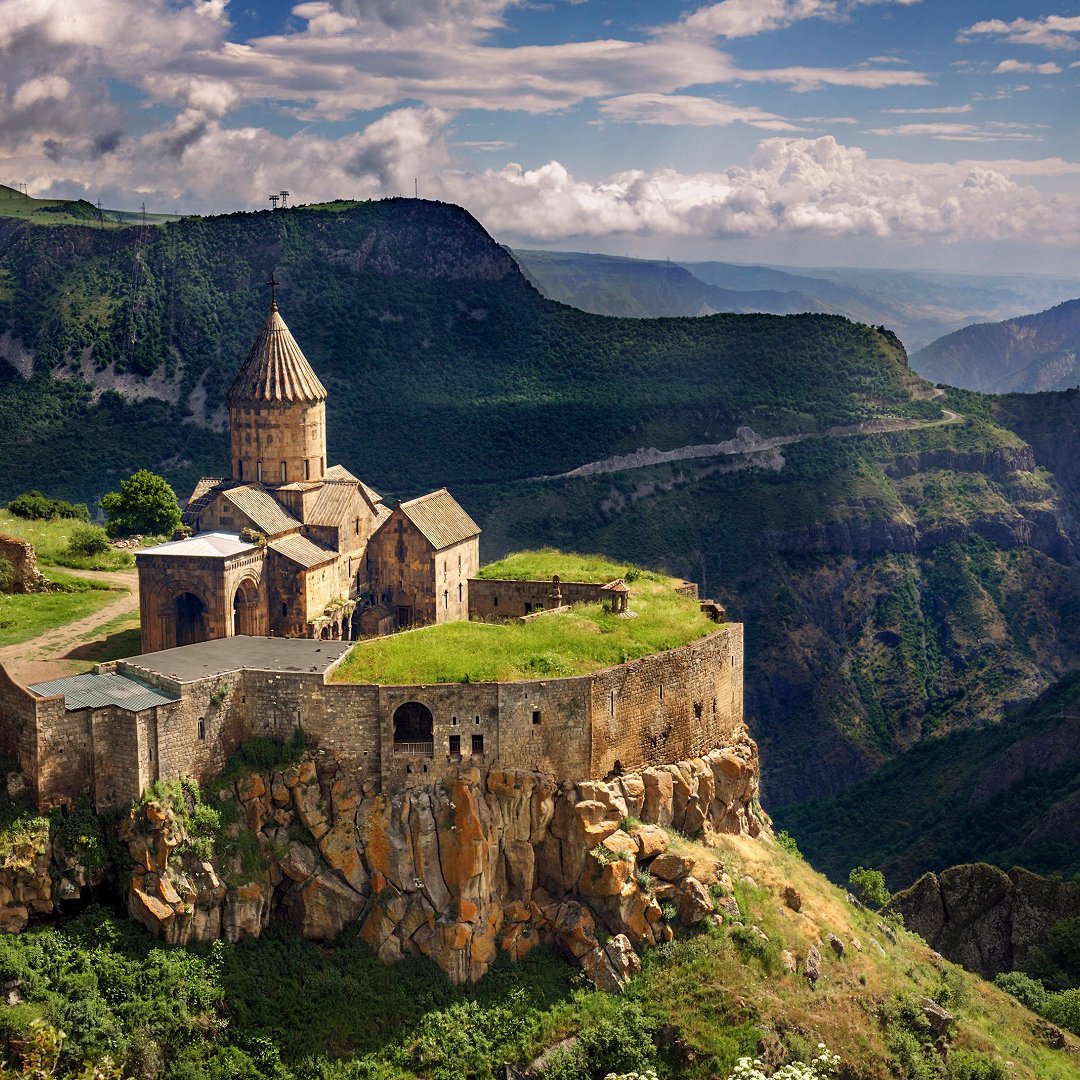
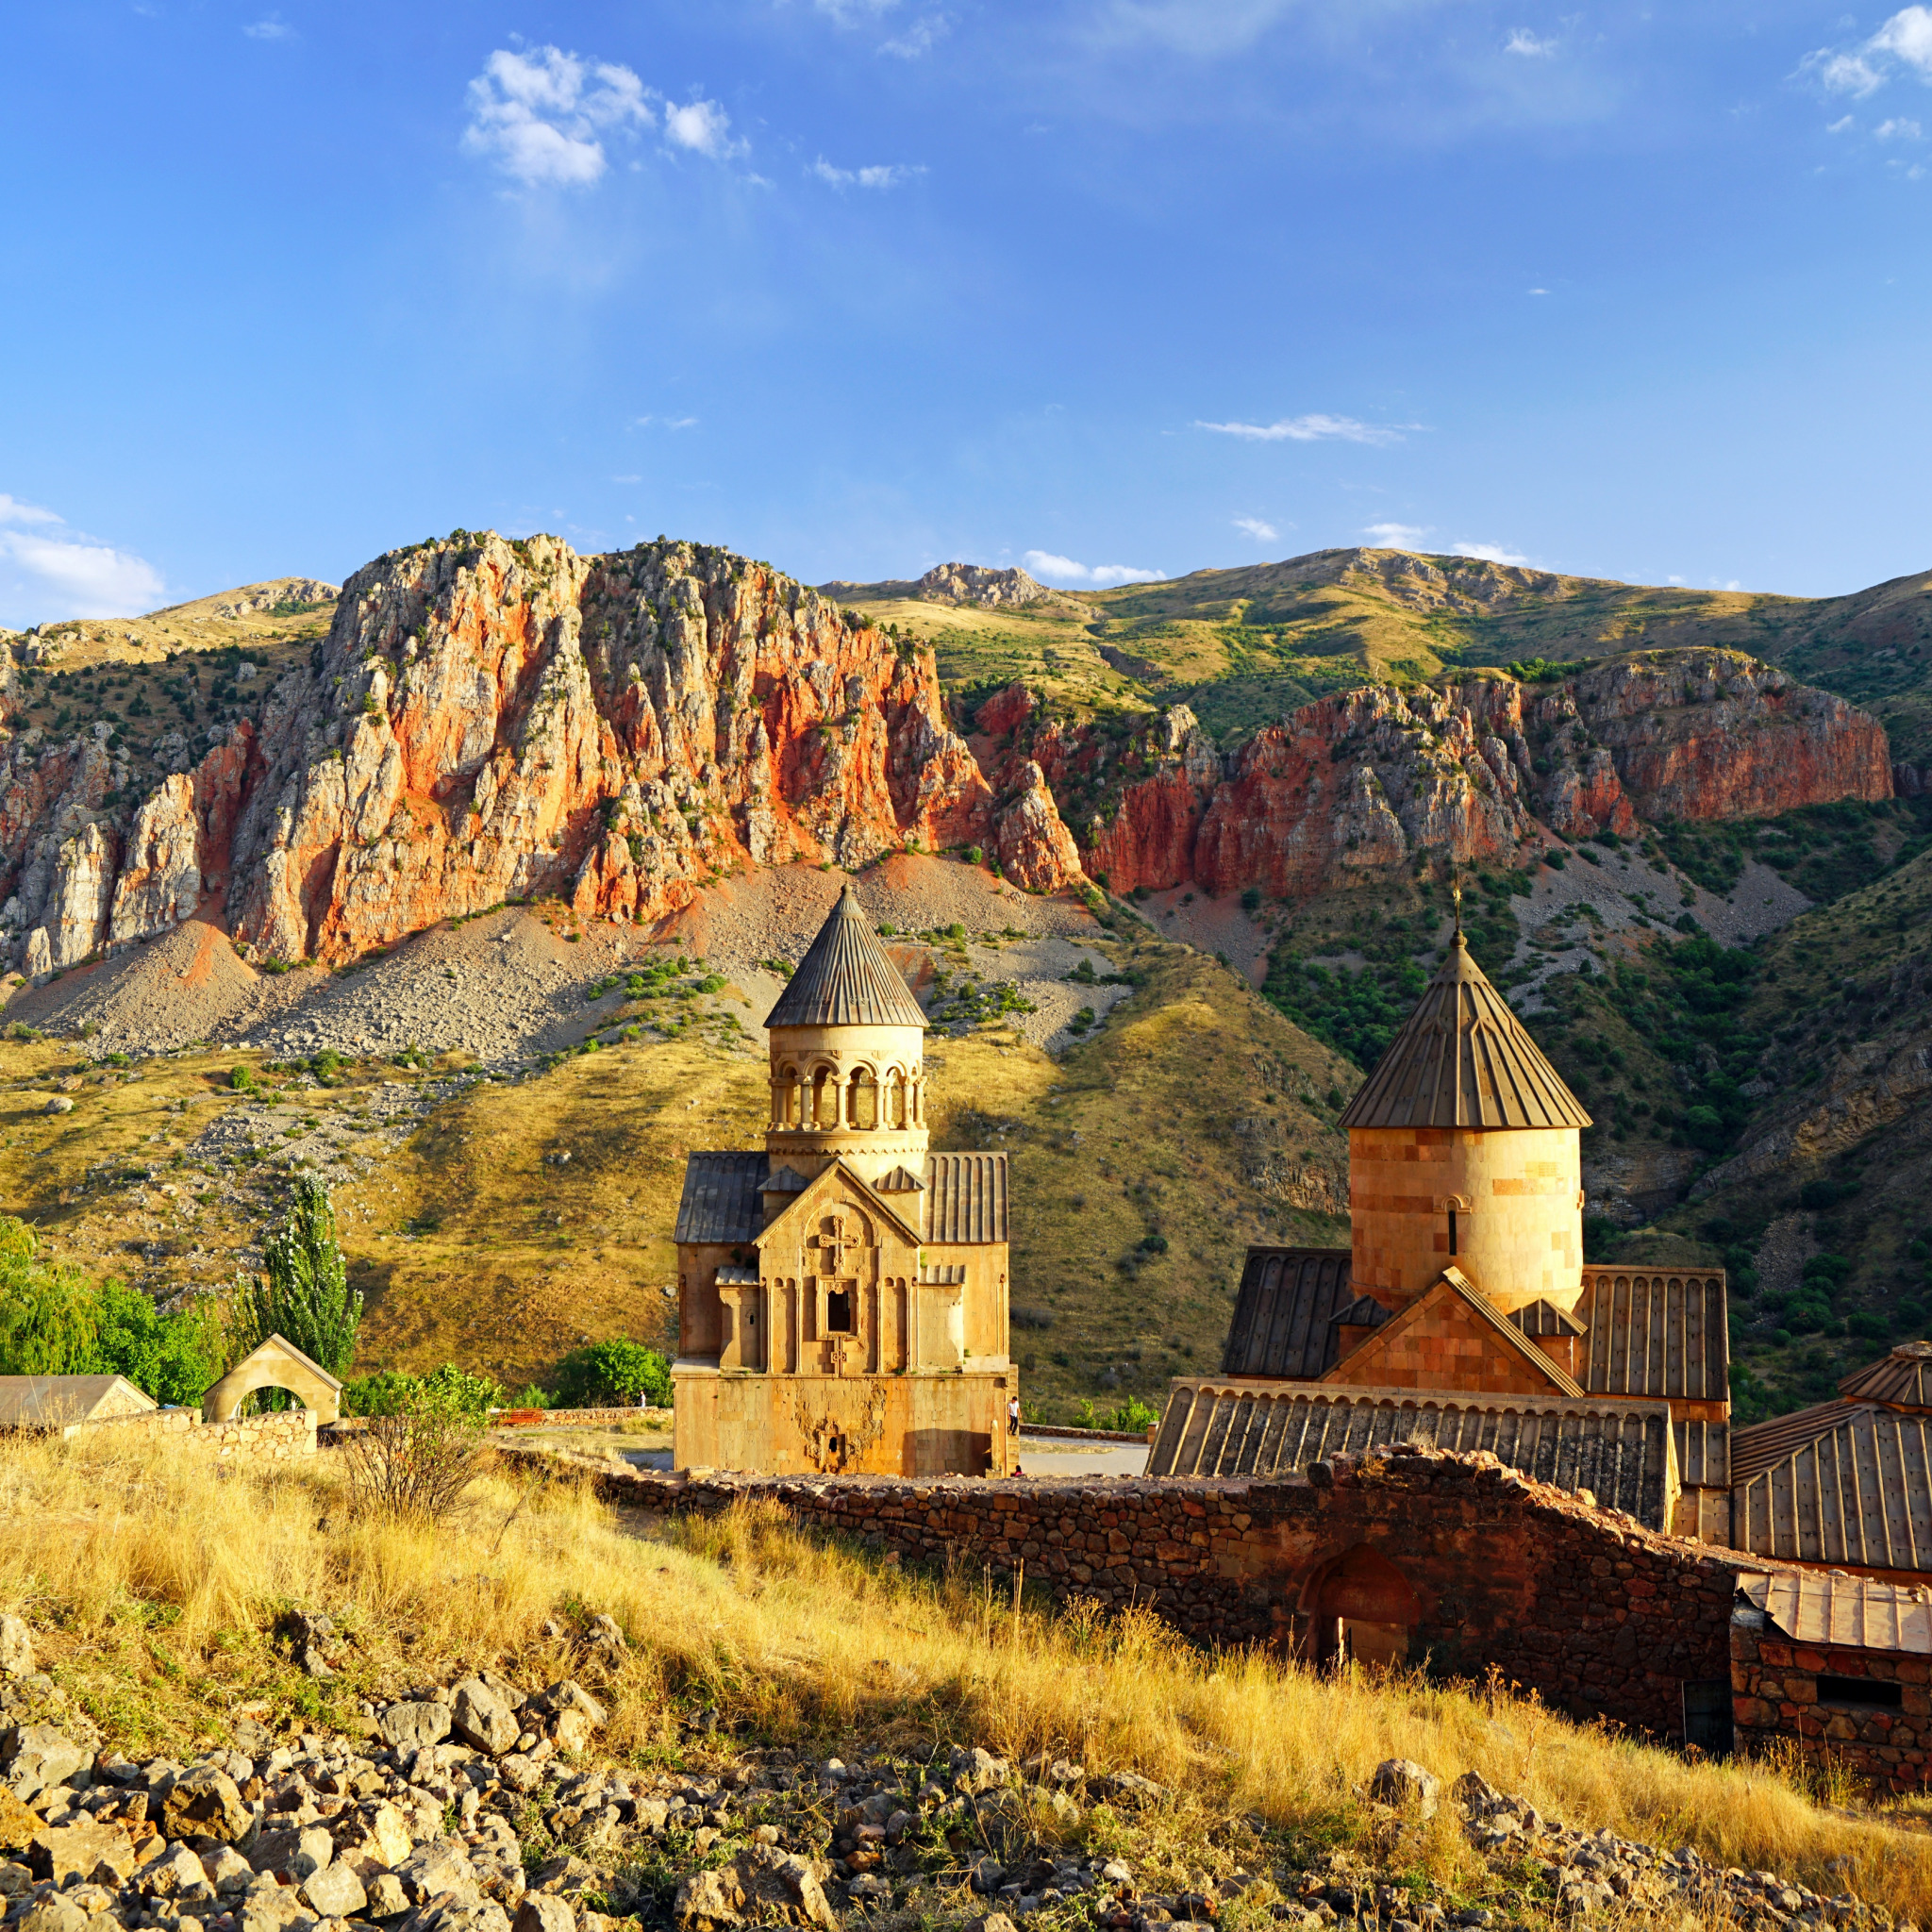
.jpeg.1469c29200f6e728afc87a595546664a.jpeg)
-
Сейчас в сети
1 гость 1 пользователь
Сейчас на странице
Нет пользователей, просматривающих эту страницу.
Сейчас на странице
- Нет пользователей, просматривающих эту страницу.


Рекомендованные сообщения
Архивировано
Эта тема находится в архиве и закрыта для дальнейших сообщений.